Pepe the Frog Diaries chronicles my experiences using BackerKit after the conclusion of the #SavePepe Kickstarter campaign. Keep in mind, this is not a “how to” series to be used for guidance, but rather a “how I did it” series to be used as an in-depth look from a creator’s perspective on how BackerKit can be implemented from beginning to end.
Among all the benefits and advantages BackerKit provides, the ability to offer add-ons to existing backers and a pre-order store to late adopters was a big draw for the #SavePepe campaign. Both are great ways to stay engaged with the community and maintain the momentum you’ve built during your campaign . And needless to say, it’s a great way to keep the funds coming in long after your initial campaign ends.
BackerKit offers the ability for backers who supported you during your campaign to add extra items during their exit survey (more on surveys in the next installment!). Did you want an extra Save Pepe zine or other campaign item for a friend? No problem. Do you want to add completely new items such as a cool new sticker or pin? Easy. The options you have are completely up to you and there is no limit to how many items and item variations you can offer.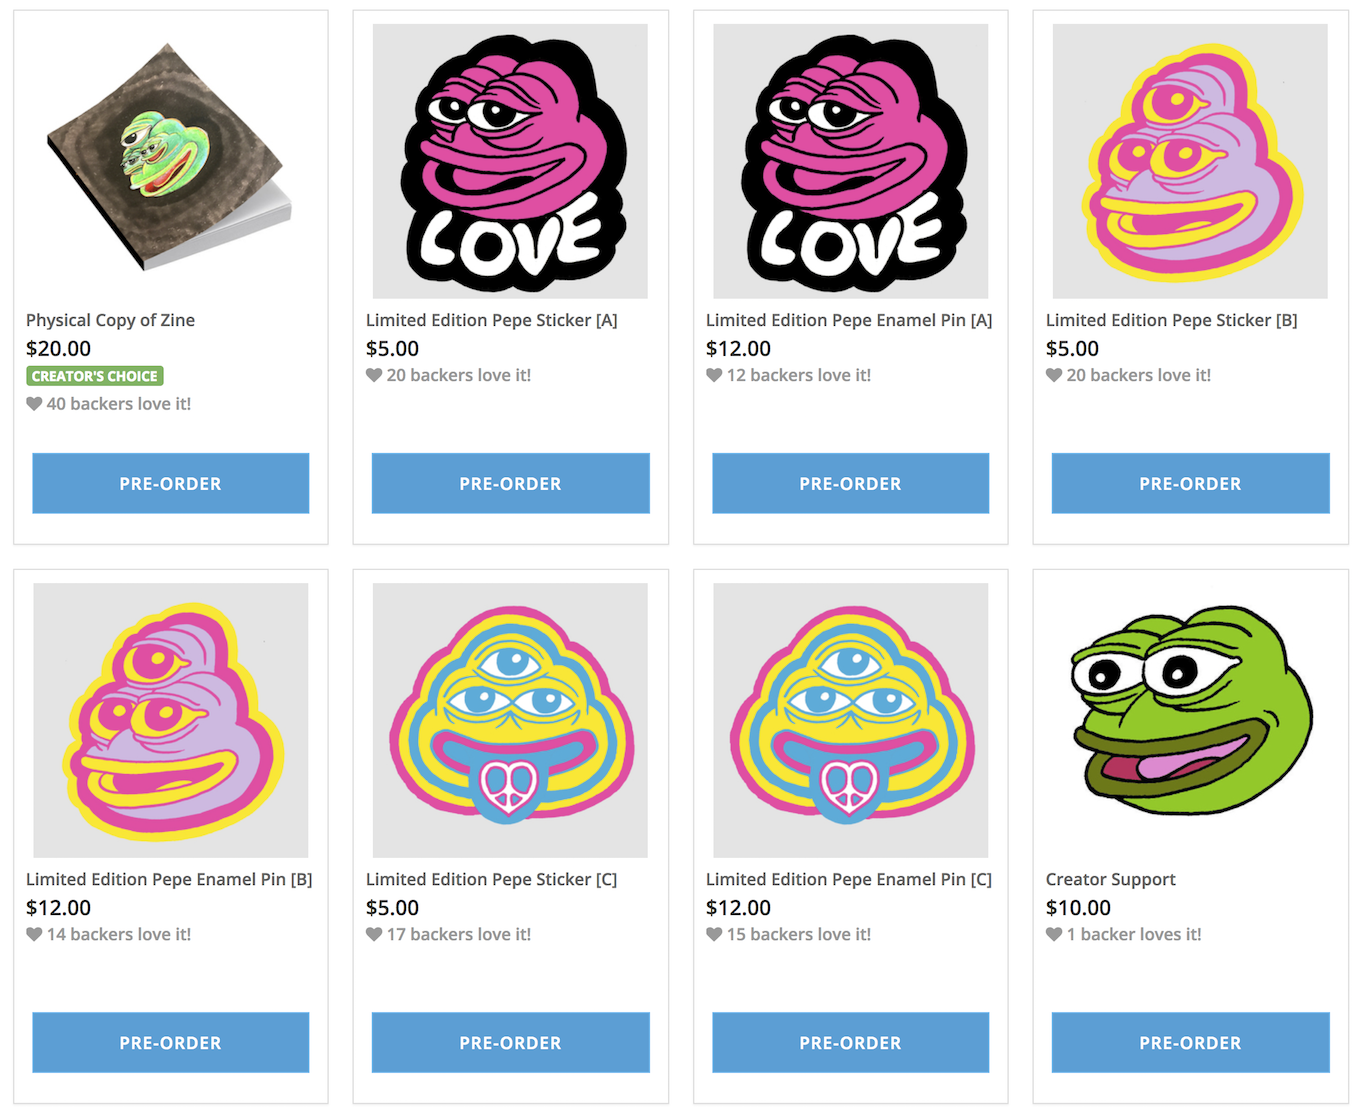 For #SavePepe, we wanted to both reward backers who were privy during the main Kickstarter campaign and allow newcomers to purchase a few of the main items if they missed out. The Kickstarter campaign had tons of super exclusive items such as t-shirts and original art. While it would have been completely possible for us to add any of the unsold items in our BackerKit add-on store, we decided to keep those items exclusive to the campaign. That said, we wanted to make sure latecomers had something special to choose from. We decided to offer the main zine as an add-on along with the sticker and enamel pin offered on Kickstarter. In addition, we added 2 brand new designs for additional stickers and pins as well as a new limited edition art print. But again, the options I had at my disposal were limitless, and each project has the flexibility to decide what works best for them.
Creating add-on items was super easy during the BackerKit setup process. Assigning a name, description, image, and price was a breeze. I highly recommend creating your add-ons during the “Generate Items” step. This way each item gets assigned a unique SKU that will help keep things organized down the line. If you enter the “Add-Ons” section in the sidebar of your dashboard, you will have to manually add a SKU to each item. Backers also have the option to upgrade their pledge level (not downgrade), collect payments from backers who had failed credit card payments, and the ability to set inventory quantities. You can also manage shipping fees since extra items equal extra shipping weight. I decided against adding additional shipping fees to our initial Kickstarter backers as a way to say thanks, but there is an option to add shipping tables by weight for those with bulkier rewards that can add up.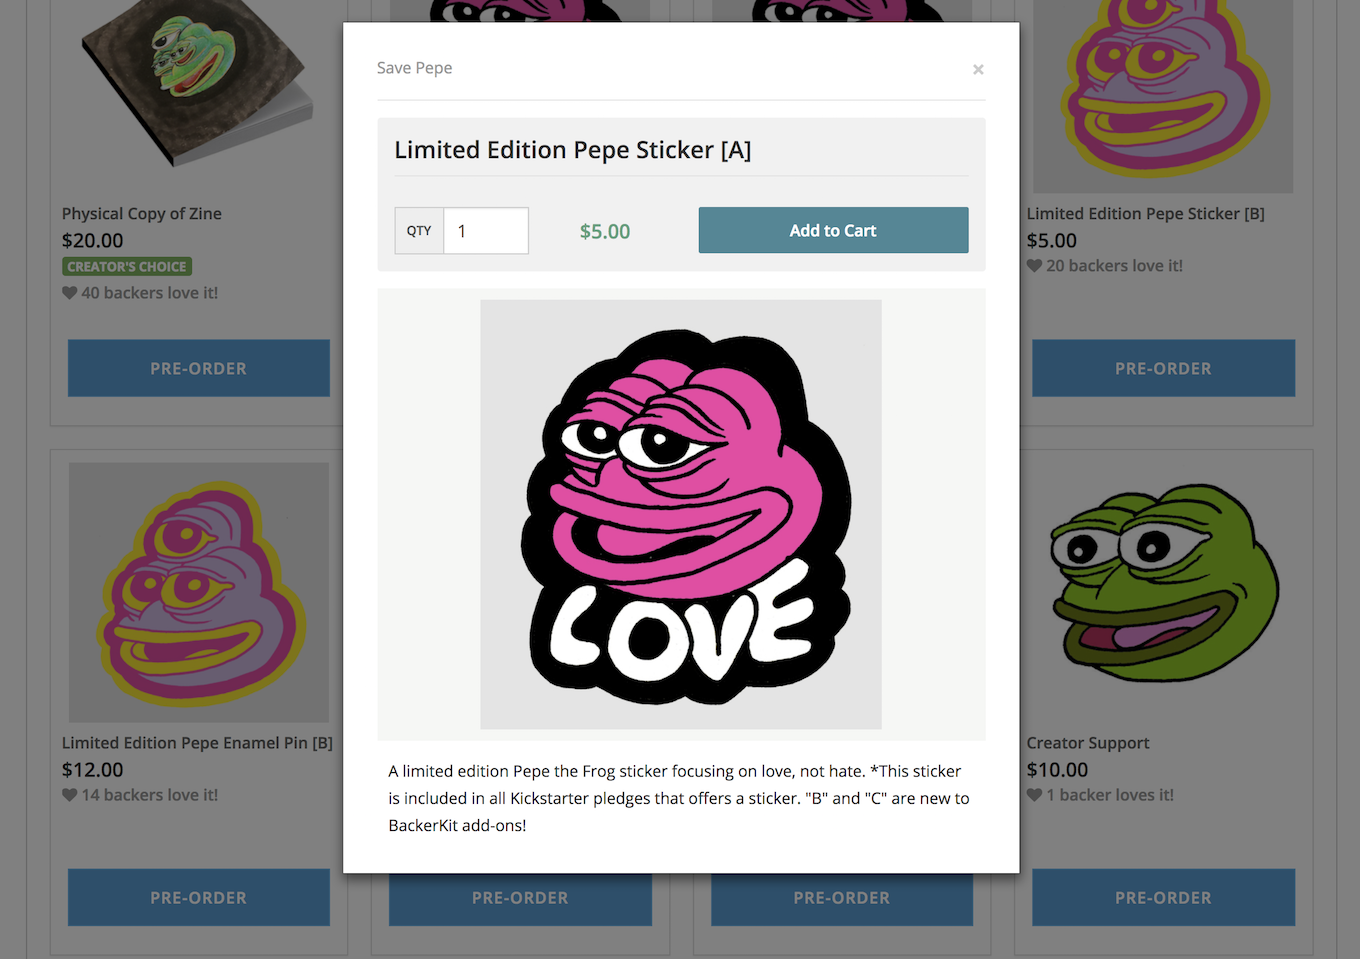 No matter how many backers support your project during the initial run, there are dozens, hundreds, dare I say thousands of other backers out there who are bummed they missed out! Most Kickstarter campaigns run for 30 days and then they’re done. BackerKit offers an opportunity for latecomers to get in on the action and lend their support after the campaign ends. Not everybody has an online store to post their items for sale post-campaign. BackerKit makes this simple and easy and even integrates with your original Kickstarter page pointing potential supporters to your new pre-order store. For #SavePepe, we decided to create a pre-order store with all the aforementioned add-on items. Many supporters thanked us for giving them a way to support us in this later stage and we raised an additional $3k helping offset some of the fulfillment costs. If you agree to use BackerKit before your campaign ends, you will be able to open up your pre-order store immediately after the campaign ends capturing all those that just missed the deadline.
Add-on items and pre-orders are a simple and flexible way get additional funds post-campaign. Setting it up was a breeze and my only real regret was not aligning with BackerKit sooner to take full advantage of all the options. In the next Pepe the Frog Diaries, I will detail the survey creation and delivery process, which in my opinion, made my whole crowdfunding experience a lot less stressful.
For a more detailed “How-to” experience, please check out BackerKit’s help and resource page. And if you’re interested in sealing the deal with BackerKit, you can sign up today on our homepage and embark on a journey of your own!
And be sure to read past Pepe Diary entries:
Pepe Diaries #1: Discovering BackerKit
Pepe Diaries #2: Getting Started
Pepe Diaries #3: Generating Items & SKUs