Pepe the Frog Diaries chronicles my experiences with BackerKit after the conclusion of the #SavePepe Kickstarter campaign. Keep in mind, this is not a “how to” series to be used for guidance, but rather a “how I did it” series to be used as an in-depth look from a creator’s perspective on how BackerKit can be implemented from beginning to end.
Now that I’m set up with BackerKit, it’s time to get my hands dirty and start generating my items. BackerKit’s dashboard allows me to navigate all the features offered with ease. The “Quick Start Guide” tab on the sidebar is a good place to call home during these introductory steps. It lays out all the checklist items you need to cross off before sending out surveys to your backers. My first step is to generate all the items for my project.
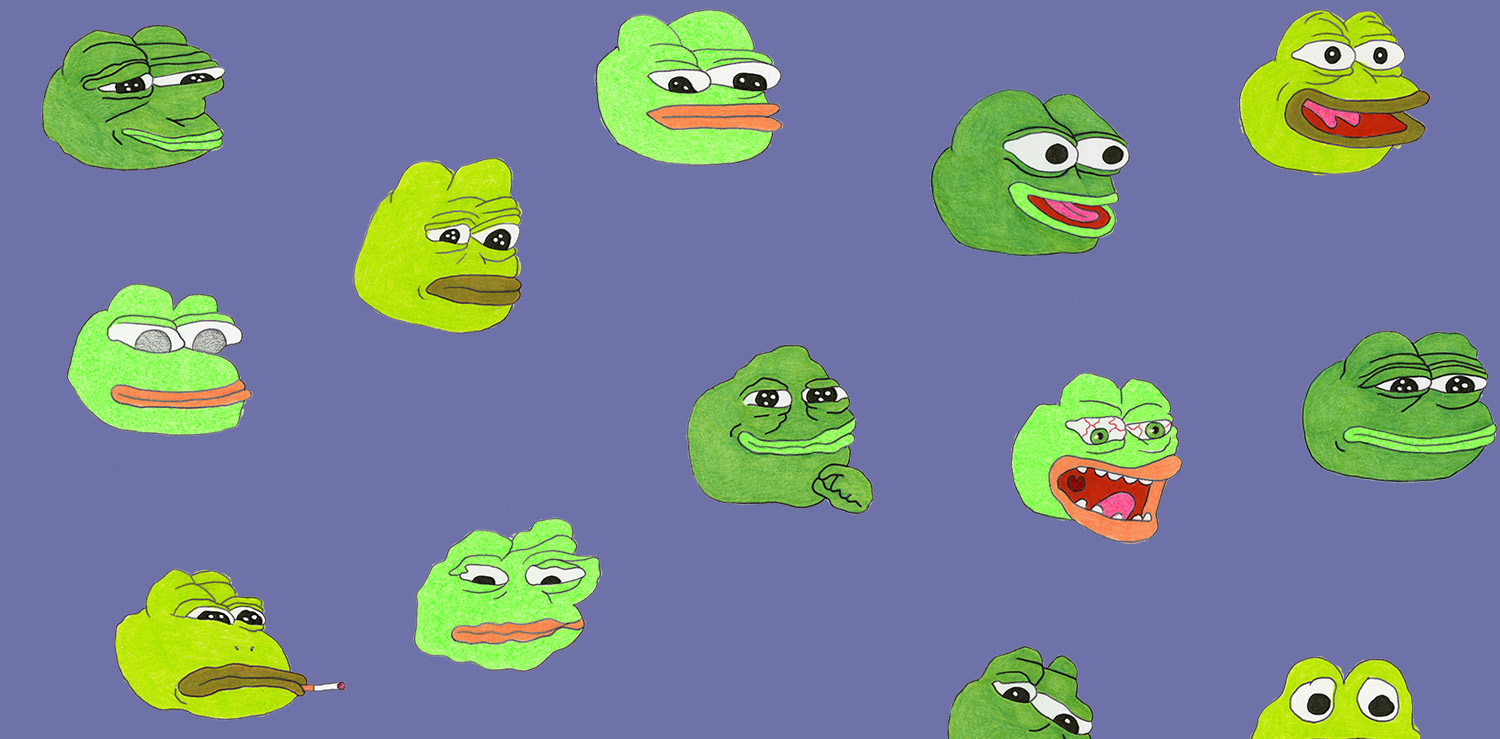
When my brother Matt and I planned the #SavePepe Kickstarter campaign, we thought it would be best to keep everything as simple as possible. One of our main goals was to limit the number of items offered to avoid getting overwhelmed. Neither of us had ever managed a crowdfunding campaign before. There were too many horror stories surrounding disappointed backers, delays in production, and even a lack of delivery. One of the main reasons we decided to team up with BackerKit was to finish our campaign on a high note honoring all the support we gained. Backers will undoubtedly shape their opinion of you based on how well you handle fulfillment. In short, we kept things simple to help keep our backers happy.
Generating items via BackerKit is a breeze. You can enter through the Quick Start Guide, or through the handy “Generate Items” tab. Once you’re in, all you need to do is answer a few simple questions. Name the item, add any options (such as size and color), assign to a pledge level if it was a part of your campaign, and decide if you want the item included as an “add-on” (more on those in a later diary entry).
The item generator is the best way to set up all the items you will be providing your backers whether they were part of your initial campaign or not. Using the Item Generator automatically creates SKUs for all your items. A cool robot would tell you a SKU is a “Stock Keeping Unit” used as a short unique identifier assigned to each individual item. Each unique item in your project must have it’s own SKU. This means your medium-sized Save Pepe shirt has a separate SKU from the large-sized Save Pepe Shirt. Luckily, t-shirts were the only item in my campaign that needed to add “options”. It’s important to note, if you create an item outside of the Item Generator, you must manually assign it a SKU. Properly setting up your SKU’s is a key part of your campaign with BackerKit.
The #SavePepe campaign ended up having 23 unique items (SKUs) including all the main Kickstarter items, a handful of BackerKit exclusives, and a digital copy of our comic. Don’t forget to give digital items SKUs too! It’s important to take your time during the item generating process as it has a big impact on the rest of the steps moving forward. Once all your items are generated, it will be time to review your add-ons and set up your survey questions. We will be covering that in the next Pepe the Frog Diaries entry. Stay tuned.
For a more detailed “How-to” experience, please check out BackerKit’s help and resource page. And if you’re interested in sealing the deal with BackerKit, you can sign up today on our homepage and embark on a journey of your own!