Managing a crowdfunding campaign may be time-intensive, but it doesn’t have to be overwhelming. To understand everything that goes into a Kickstarter campaign and keep yourself on track, here is a basic overview and checklist of steps you’ll need to take to set yourself up for a successful crowdfunding campaign.
Pre-Launch Kickstarter checklist
If you plan to launch a crowdfunding campaign either on Kickstarter or Indiegogo, the work you do before launch day will be a major factor in whether or not you hit your funding goal. This is why you should take your time during this stage. It may take 6 months to 1 year to get ready. It could take longer. Regardless, don’t cut corners, ask for help from experts or other crowdfunding creators if you’re confused, and do your research.
There may be things that you don’t know that you don’t know, so carve out some time to just read about crowdfunding best practices or watch crowdfunding webinars while completing the following essential pre-launch steps.
(It should be noted that some of the steps below will be happening concurrently and that you may have a reason to change the order based on your project’s needs. While the order is by no means set in stone, it is crucial that you complete these tasks before you launch.)
1. Create a separate Kickstarter checklist for personal goals and expectations
Down the line, you’ll need to set a funding goal. But well before you start crunching those numbers, you should be writing out your personal expectations for your campaign. If, for example, you were to break even by the end of your campaign, some people might not see that as a success. However, if you’re looking at your campaign in terms of growing a lifetime audience, the campaign could be extraordinarily successful in your eyes if you’ve built a large, engaged community by the end of it.
So what is it that you want to accomplish? Aside from hitting your funding goal, how will you measure success? You may find it helpful to create a separate Kickstarter checklist for those personal campaign goals and expectations, and then check your progress as you go.
2. Create your prototype
Start visualizing your product idea by designing a prototype. Your design will undoubtedly change as you get more feedback and start testing, but the earlier you begin that iteration process the sooner you can make those changes. You want to start validating your idea as soon as possible. With a prototype — even if it’s very rough and DIY — you’ll be able to see what’s possible and what’s still needed.
3. Identify your team members and team roles
Who will handle social media and marketing, create campaign assets, and write all of the copy on your campaign page? Will you be hiring a professional agency? Will you do it yourself?
While research shows that crowdfunding campaigns with teams raise over three times as much as solo creators, if the scope of your project is relatively small, you may be able to handle everything on your own or with a group of dedicated friends at your side. But, as your project scales, you’ll likely need a larger team of professionals and crowdfunding services to market and help manage your campaign. When selecting your team, consider partners who have worked with projects like yours, can share verifiable results from their past work, and who have different areas of expertise than your own.
4. Develop and price your product
Figure out what it will take to bring your cool idea to life. Start by conducting market research, asking yourself questions like:
- Who is my target audience and what are they looking for?
- Are there similar products on the market?
- Are there any projects on Kickstarter or Indiegogo that are similar to what I’m working on? What features do they have? Which features are they missing?
- What’s the typical price point for these products?
- What were the funding goals for these projects and how much did they end up raising?
The answers to these questions will help you figure out your unique selling proposition — or the thing that sets you apart from the competition — and give you some insight into what backers are willing to pledge.
With this information in mind, you can begin developing a budget. Write out everything you’ll need — from prototypes, manufacturing, and production to packaging, shipping, and fulfillment. If you plan on using BackerKit Pledge Manager, you’ll also need to factor that into your budget. Then, estimate or get quotes on all costs associated with your project. Having these costs along with your market research data will enable you to calculate your funding goal so that it covers your expenses.
5. Build your community and email list
It’s important to recognize that the number of people you have on your email list will correspond to the number of backers and pledges you receive. Experts generally say that 5% of the people on a high-quality email list will become backers. If you end up having a $10,000 goal and an average pledge of $100, you’ll need 100 backers to get your project funded. With a 5% conversion rate, you’ll need 2000 people on your list. That number may seem daunting, but list-building is an ongoing process and you should give yourself enough time to grow the community you’ll need.
Get started by creating a landing page where you can collect emails from prospects. You can build your page free using BackerKit Launch. Drive people to that landing page by networking at online or in-person conventions, engaging with Facebook groups and other online communities, connecting with influencers, hosting giveaways, and using lead ads.
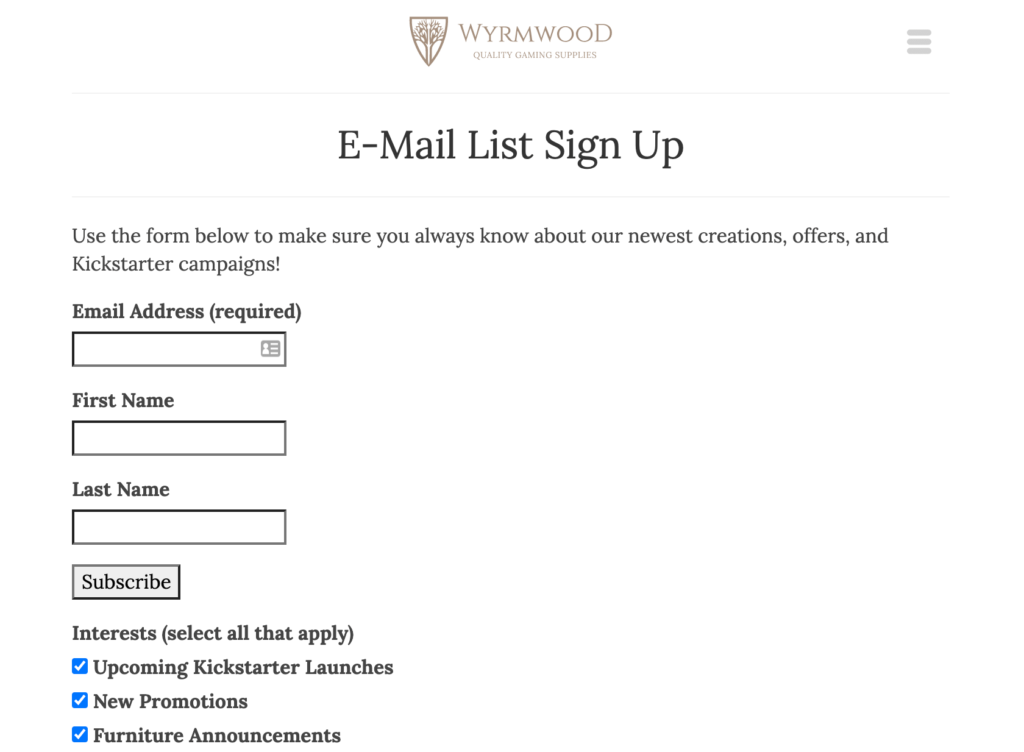
A random list of email addresses won’t help you much. It’s the quality of your list that’s important, and not the sheer number. Remember it’s 5% of people on a high-quality list that convert. You want to connect with people who are excited about what you’re creating and not just looking to get something free in a giveaway.
Once you have your list, test its strength using BackerKit Launch. This tool lets you see how many people on your list have pledged to Kickstarter or Indiegogo campaigns in the past, and are more likely to pledge to your campaign.
6. Set up your campaign page
Your campaign page is your sales pitch to backers, so it needs to be compelling. To make sure you get it right, keep the following in mind:
- Your video should explain why you’re launching your project and the benefits it offers backers. Keep it as short and informative as possible (under the 2-minute mark tracks the best).
- Images should be high-quality and high-resolution. Using animated GIFs to show your product in action is a nice way to grab people’s attention. Focus on making sure your main image is eye-catching, as this is what most people will see. Limit text and make sure it looks good scaled-down, since many people will be viewing it on mobile devices.
- Copy should be straightforward. Deliver key points quickly and simply. Don’t forget to have someone double-check everything for typos.
- Reward tiers should cover a range of price points to encourage people from diverse financial backgrounds to contribute. Limit reward tiers to 3-5 pledge levels to avoid confusion. Remember, if you’re using BackerKit, you can create custom bundles with add-ons after the campaign, which can give you the freedom to make rewards simple, while also giving backers an opportunity to get additional items.
- Showcase product preview videos and highlight any prototype reviews and testimonials from playtesters or product testers.
You’ll have to get your project approved by the platform you’re using before you launch, so don’t forget to review your platform’s requirements and campaign page optimization tips. (Check out this Kickstarter guide and this Indiegogo guide to make sure you’re on the right track.) Also, keep in mind that this approval process can take at least 2-3 business days, so factor that into your crowdfunding timeline.
7. Set up your Pre-Launch Page
After you get your final project page approved, you can create a Pre-Launch Page to promote your upcoming project on Kickstarter. Use the page to share information about your project and get people excited about the campaign. On Kickstarter, visitors to your page can choose to be notified once your project launches.
According to BackerKit research, projects with a Kickstarter Pre-Launch Page are 4 times more likely to be funded. Because getting pledges early is important to maximizing the funding potential of a project, anything you can do to mobilize your community right when you launch is critical.

8. Create a Kickstarter promo strategy and checklist
You’ll likely need a promotional checklist or task calendar within your larger Kickstarter checklist to ensure you stay on target. First on the list, decide which platforms and marketing channels you’ll use to promote your campaign. Social media, blogs that cover products that are similar to yours, your pre-launch page, and online communities that are relevant to your project are all great places to start.
Figure out which promotional tools can help you stay organized and present yourself professionally. When it comes to social media, for example, you’ll likely be using Twitter, Facebook, and Instagram for promotion. But you can also use Buffer to schedule posts and Canva to design creative assets, and Animoto to edit videos.
Next, create your marketing timeline. Determine when you’ll start reaching out to people who can help promote your project (press, influencers, friends, etc.), what your social media posting schedule will be, and when you’ll send out your newsletter and marketing emails. If you aren’t sure when you should be sending emails, BackerKit Launch can help with templates that are designed to be sent at strategic points throughout your campaign.
Within that strategy, build in time for analysis. You’ll need to see what your email list growth rate is and which channels are best at bringing in new email contacts. Take this information and use it to refine your promotional tactics.
9. Reach out to your marketing partner
If you plan on using an ad or marketing agency to promote your campaign once it’s live, you’ll have the best results if you reach out to your partner a few weeks before you launch. BackerKit Marketing partnerships, for example, should begin at least two weeks before your campaign launches.
10. Get final feedback and make sure you’ve made it through your Kickstarter checklist
See what your professional partners, friends, playtesters, and other people in your community think about your project. Share your preview link with this trusted group, and find out if your story is coming through effectively, their thoughts on your campaign’s creative assets, and any other areas that could use improvement.
During Kickstarter campaign checklist
If you completed all of the steps on your Kickstarter pre-launch checklist, you should have a strong launch. But don’t expect to coast, even if you do well on day one. Crowdfunding campaigns typically hit a plateau during the midpoint — this is even true with the most successful campaigns like Frosthaven, so it’ll be your job to keep up the energy and excitement. You should be spending this time engaging with your community and updating your backers on your progress.
1. Announce your launch
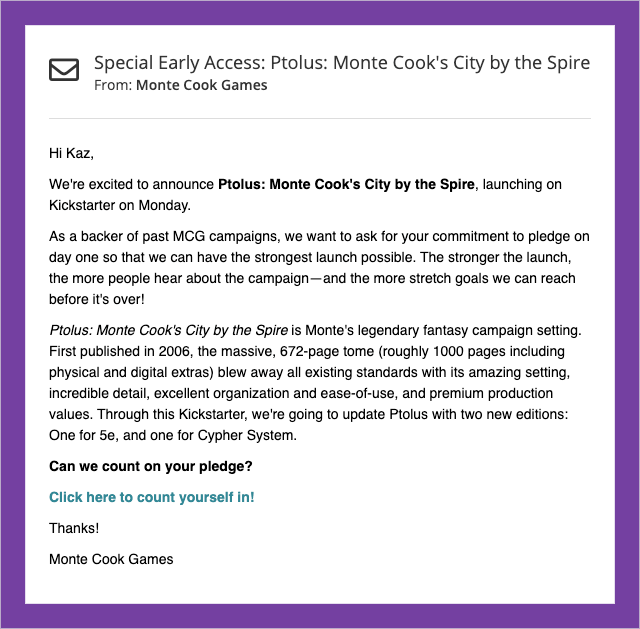
Let everyone know that your Kickstarter or Indiegogo campaign is live. At first, you may want to do a soft launch to a select group of enthusiastic fans to get the momentum going. But after that, spread the word far and wide through social media, updates on a previous campaign’s project page, press releases, and your network of friends, family, and collaborators. Most importantly, make sure to send out an email to your community with the news and encourage them to pledge.
2. Make regular project updates and answer questions
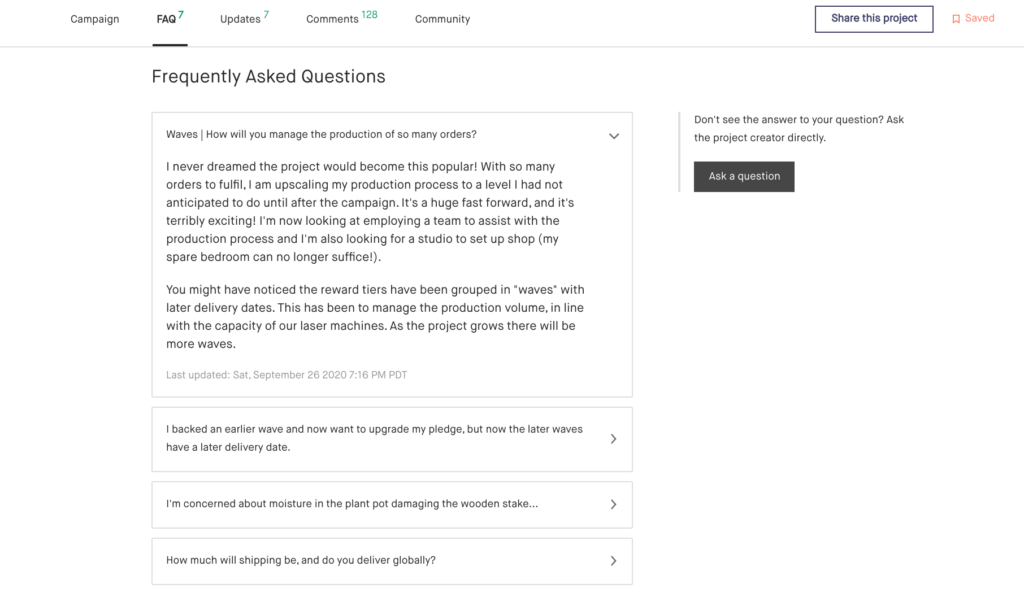
Keeping the lines of communication open is a critical part of keeping backers engaged and happy throughout your campaign, so make sure to post consistent updates on your campaign page. Celebrate project milestones, share behind-the-scenes stories about your team or development process, or ask for feedback. If nothing else, you should let everyone know if there are any new changes, developments, or setbacks in your campaign. When backers ask questions, respond promptly. If you’re getting the same backer questions over and over, add those questions to the FAQ section of your campaign page.
3. Activate community members who haven’t pledged yet
Midway through your campaign, send out another email to your community members. Let them know how many days are left in your campaign and how important their support is to you. If you’ve introduced any stretch goals, make sure to promote them.
With BackerKit Launch, you can see which people on your email list haven’t pledged yet. Using this information, you’ll be able to send messages directly to this segment of your audience. Doing this prevents you from over-messaging people on your email list who’ve already pledged and makes it possible to send a more customized reminder to the people who haven’t backed the campaign yet.
4. Track performance
Keep track of your campaign’s progress and traffic sources, using your creator dashboard and BackerTracker — a tool that shows how your project is trending and whether or not it’s on track to meet its goal. This data shows you which channels are most effective at driving people to your campaign page and which aren’t performing well. If you’re working with a marketing agency and using Facebook Ads, review those results as well to ensure you’re getting a return on ad spend (ROAS) that you’re happy with. Use this information to adjust and optimize your strategy.
![]()
5. Set up your pledge manager
Once you’ve launched your campaign, you can sign up for BackerKit Pledge Manager, which keeps backer data organized and automates many of the time-consuming tasks associated with fulfilling rewards. Because you only need to prepare for fulfillment if your campaign is successful, it’s best to wait until you’re funded — or you’re trending to fund according to BackerTracker — before setting up your pledge manager. Make sure to announce that you’ll be using BackerKit on your campaign page.
6. Continue your marketing and community engagement efforts
Push through that mid-campaign plateau and finish strong by continuing to market. Encourage your current backers to spread the word about your project. Consider running a cross-promotion with another creator where you both share information about each other’s projects on your campaign pages. Experiment with new messaging and promotional images. Share any exciting updates in your marketing materials. Remember that it’s normal for activity to slow down in the middle of your campaign. Use this opportunity to try out new methods of engaging your backers and prospects.
Post Kickstarter campaign checklist
You did it! You hit your funding goal. And while you should definitely celebrate, the work doesn’t stop here. You still have to ship out rewards and keep your backers happy through the entire fulfillment process. And don’t miss out on the opportunity to raise additional funds. Here’s everything you need to do to finish your campaign the right way.
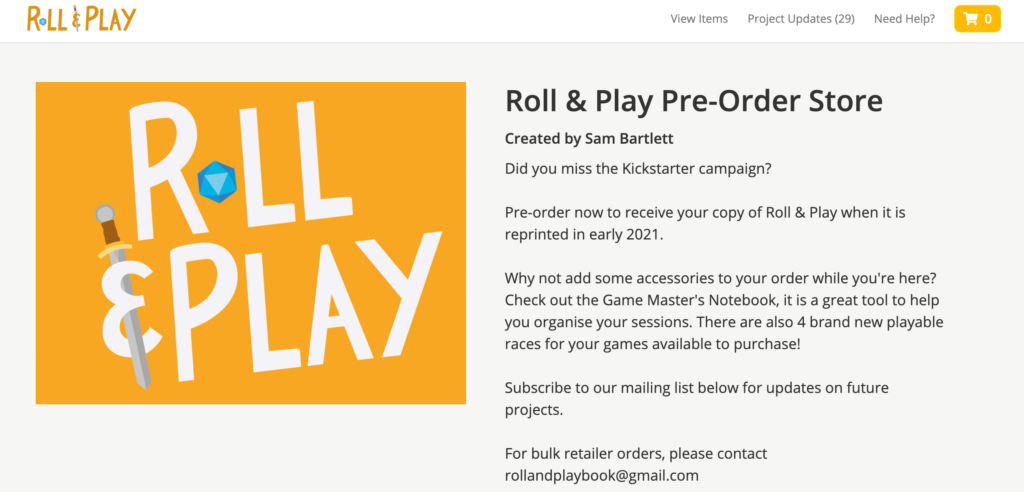
1. Open a pre-order store
Once your campaign ends, you can keep the momentum going outside of Kickstarter or Indiegogo with pre-orders. This not only gives people a chance to purchase items they’ve missed out on, but also gives you an opportunity to raise more money. You can use BackerKit to create a pre-order store, which enables you to manage pre-order backers and campaign backers in the same place.
2. Send out surveys to collect backer information
Get your backers’ address and payment information by sending out your surveys 14 days after your campaign has ended (this is approximately the amount of time it takes for Kickstarter and Indiegogo to process payments). If you’re using BackerKit, backers will be able to see all of the items they’re receiving based on their pledge level, make item selections (size, color, etc.) if applicable, and purchase add-on items in their survey.
3. Stay in touch with your backers
Depending on the complexity of your project, the fulfillment process could take months or even years. It’s critical that you keep in touch with your backers during that time. You should be answering any questions they have and keeping them up to date on your production and delivery timeline. BackerKit customers have the option to turn on Backer Support. If you choose this option, all backer questions from your surveys will be directed to a dedicated support lead.
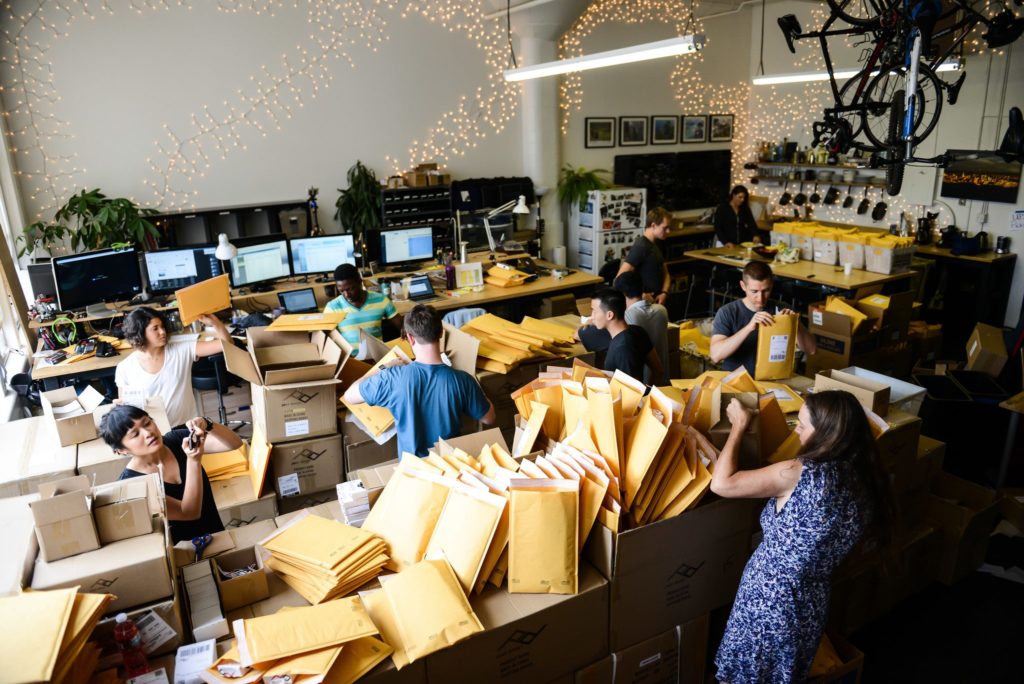
4. Process fulfillment and prepare your Kickstarter shipping checklist
There are several steps you’ll have to take to get ready for shipping, so again, it might help to create a separate checklist to make sure you finish everything. First, get ready for manufacturing by finalizing your item counts. Then, obtain shipping quotes from fulfillment houses. As your items are being manufactured, you can finalize orders in BackerKit, locking down backer addresses (that is, ensuring backers’ information is correct) in preparation for shipping. Because BackerKit has integrations with a number of fulfillment partners, including Amplifier and Shopify, you’ll be able to send that information directly to the fulfillment house.
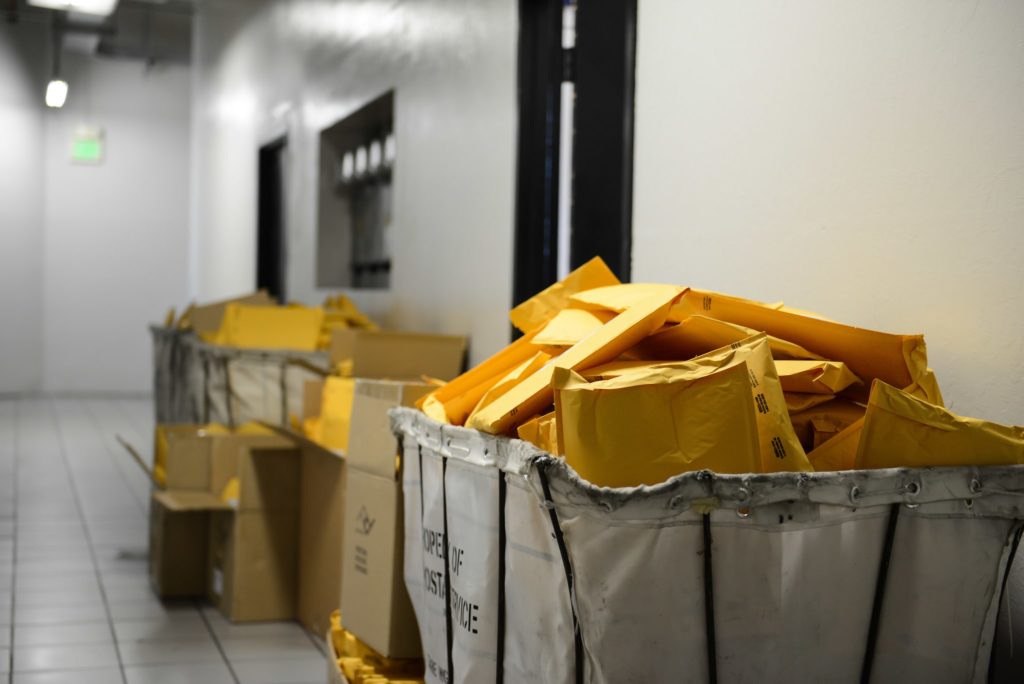
5. You’ve made it through your Kickstarter checklist — it’s time to ship rewards
Production has wrapped up, and now it’s time to ship those rewards. Notify your backers, send out tracking numbers through BackerKit, and thank everyone who contributed to your campaign one last time for their support.
Running a crowdfunding campaign isn’t easy. You will have to dedicate months — maybe even an entire year — to complete your journey. But if you have a crowdfunding campaign plan and checklist, you’ll make it through each stage more efficiently and with less stress. You also be ready to take what you’ve learned and run another campaign.
Are you creating your pre-launch plan? Download our Kickstarter project checklist and worksheet to ensure you stay on target.